Updating Ballast
A Ballast release is three binaries built together: the centre, Ballast Manager and the Windows agent. On an appliance, all three are uploaded through Ballast Manager's Updates page. The agents on your hosts are then updated from the console.
Your hosts are not affected while the centre restarts. Each agent keeps enforcing the last desired state it was given, and reports back when the centre answers again.
This guide is for the Rocky Linux appliance, which is where Ballast Manager runs.
Before you start
- Read the release notes for the version you are moving to. Each release has a "Before you upgrade" list.
- Download all three binaries for the release from the
Downloads page, and check each one against
SHA256SUMSas described there. The names carry the version, for exampleballast-centre-1.0.2. There is no need to rename them: Manager identifies the centre and Manager binaries by the version built into them, and the agent only has to be a.exe. - Take a backup. In Ballast Manager, open Backup and select Back up now. See Backup and restore.
Open Ballast Manager
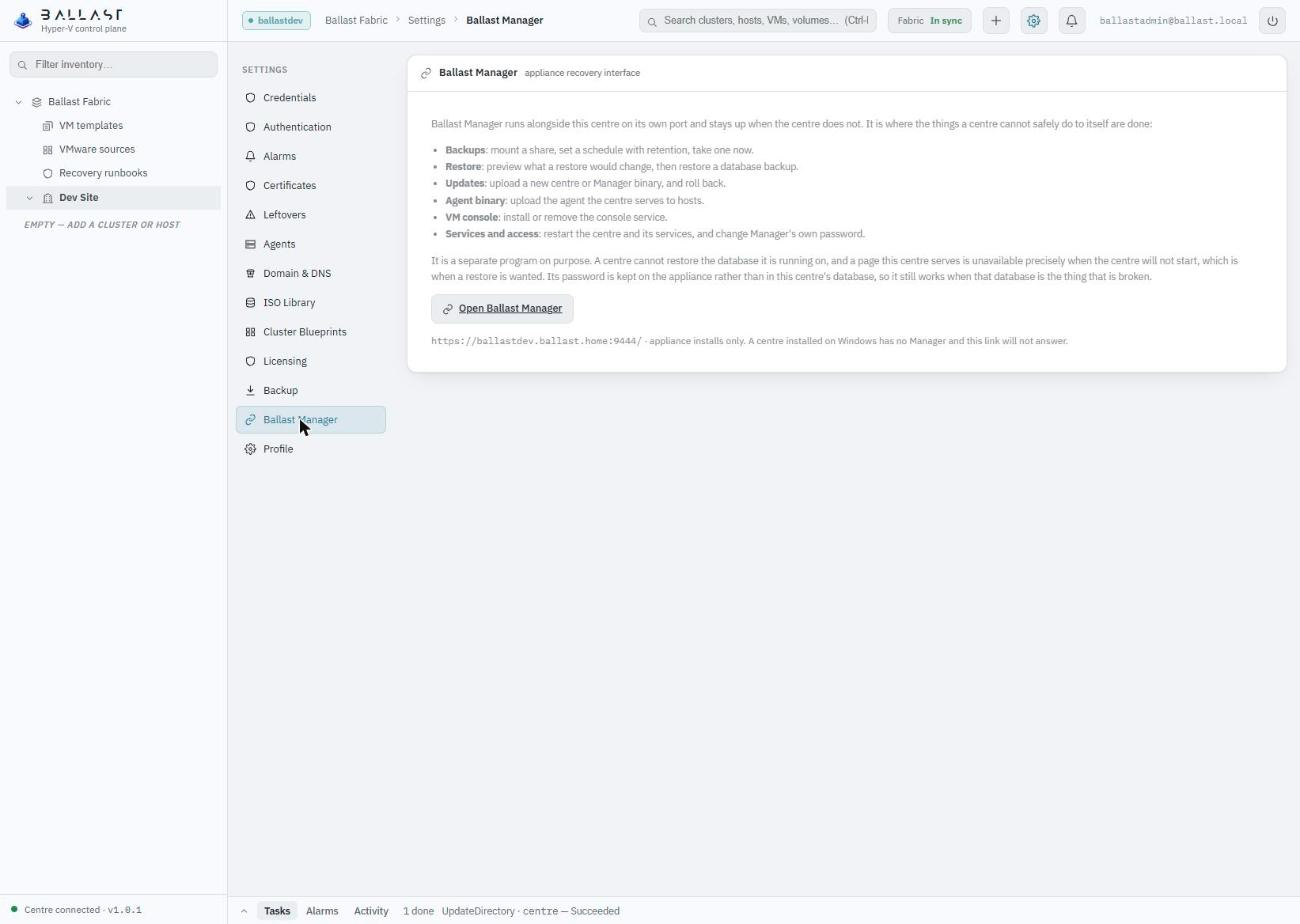
In the console, go to Settings, Ballast Manager and select Open Ballast
Manager. It runs on the appliance on port 9444, for example
https://ballast.example.com:9444/, and has its own password, kept on the
appliance rather than in the centre's database.
Select Updates in Manager's left-hand menu.
1. Check what is running
The top of the Updates page shows the version of each part:
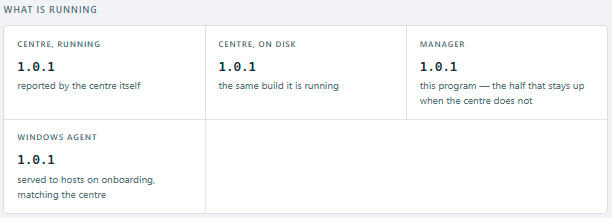
- Centre, running is the version the centre itself reports.
- Centre, on disk is the binary that will run the next time the centre starts. It normally matches the running version.
- Manager is Ballast Manager itself.
- Windows agent is the
ballast-agent.exethe centre gives to hosts, both when a host is onboarded and when an agent is updated from the console.
2. Update the centre
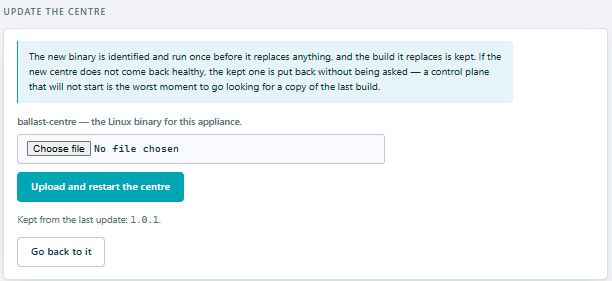
Under Update the centre, choose the ballast-centre file you downloaded and
select Upload and restart the centre.
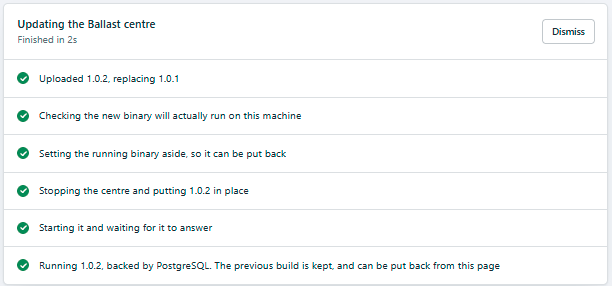
Manager runs the new binary once to confirm it works on this machine before it replaces anything, sets the running binary aside, restarts the centre on the new one and waits for it to answer. Each step is listed on the page as it happens. If the new centre does not come back healthy, Manager puts the previous binary back and starts it again without being asked.
When it has finished, reload the console. Its footer shows the new version next to Centre connected. If you run the console as an installed app, close the window and open it again: an open app window keeps showing the build it last loaded.
3. Replace the Windows agent file
Under Update the Windows agent, choose the ballast-agent .exe from the
same release and select Replace the agent.
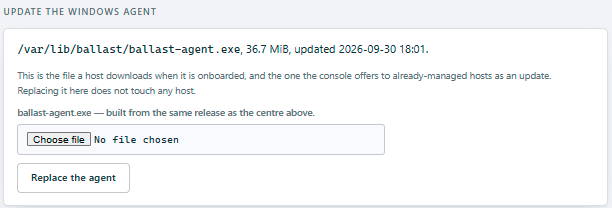
This replaces the file the centre gives to hosts. It does not touch any host by itself.
Do this before updating the hosts. The console updates a host with whatever file is here, so a host updated before the agent file is replaced gets the old agent again, and still shows as outdated afterwards. If the agent file and the centre are different versions, the Updates page says so under Windows agent. This is what it looks like straight after the centre is updated and before the agent file is replaced:
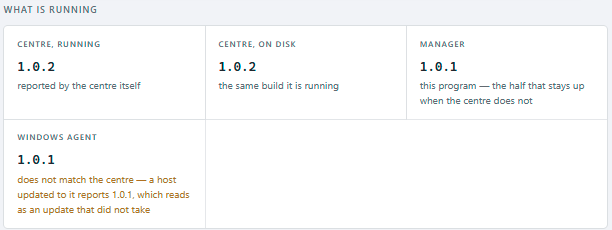
Once the new agent file is in place, the warning goes and the Windows agent shows the same version as the centre.
4. Update the agents on your hosts
In the console, go to Settings, Agents. Once the centre is updated, every host still on the previous agent is listed as outdated. Select Update all outdated.
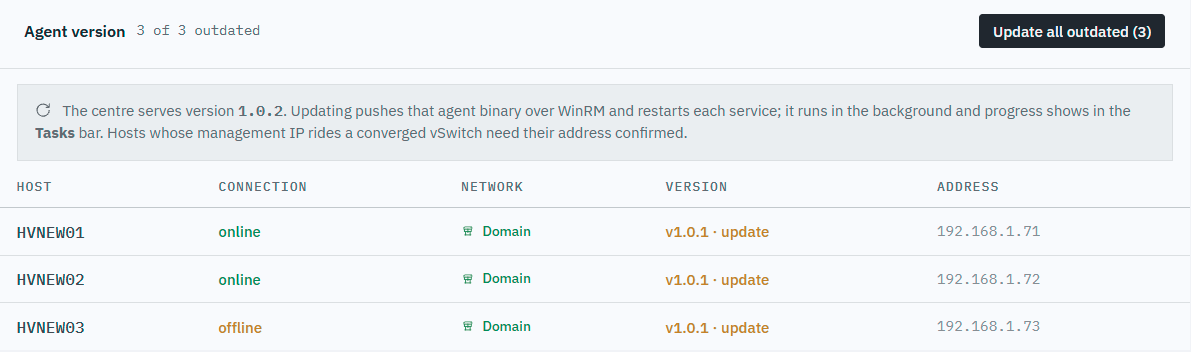
In the dialog:
- Choose the credential used to reach the hosts over WinRM.
- Confirm each host's address. A host whose management address is on a converged virtual switch may not report one, so fill it in if it is empty.
- Leave ticked the hosts you want updated, then select Deploy to the number of hosts ticked. Hosts that are reporting are ticked for you. A host that is not reporting to this centre, for example one that is shut down, is listed separately and left unticked.
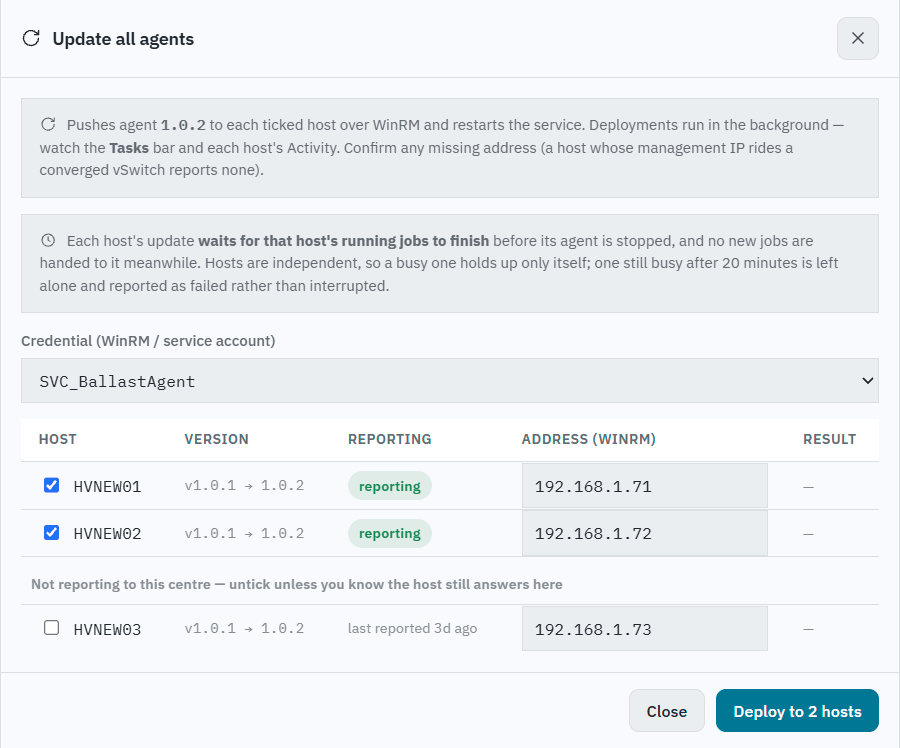
Each update runs in the background: follow it in the Tasks bar and in the host's Activity. A host waits for its own running jobs to finish before its agent is stopped, and is given no new jobs meanwhile. A host still busy after 20 minutes is left alone and reported as failed rather than interrupted, so you can try it again later.
To update one host on its own, right-click it and choose Update agent, or select the update marker beside its agent version on the host's Summary.
:::caution A host that is not reporting to this centre
Updating an agent reinstalls it against this centre: it writes this centre's address and certificate into the agent service. If a host listed as not reporting has been moved to another centre, updating it from here takes it back. The dialog warns you when a ticked host is not reporting.
:::
Updating Ballast Manager
Manager can be updated before or after the centre. The two are replaced independently.
Under Update the manager, choose the ballast-manager file and select
Upload and restart the manager.
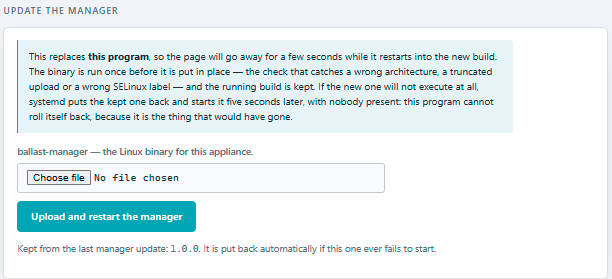
The page goes away for a few seconds while Manager restarts on the new build. As with the centre, the new binary is run once before it is put in place, and the running one is kept. If the new build will not start, the appliance puts the kept one back and starts it again on its own.
Going back to the previous version
- Centre: the build it replaced is kept. Under Update the centre, select Go back to it.
- Manager: the previous build is put back automatically if a new one fails to start.
- Agents: upload the older
ballast-agent.exeunder Update the Windows agent, then update the hosts again. Manager accepts an agent that does not match the centre, because going back is sometimes the right call, but it says so on the Updates page.
If something does not look right
- A host still shows the old agent version after updating. The agent file in Manager was probably not replaced first. Check Windows agent at the top of the Updates page, replace it, and update the host again.
- The console looks the same as before. Reload the page, or close and reopen the installed app window.
- A host shows only two adapters, NIC1 and NIC2, and no switches, storage or
VMs. Its agent is running the development stub, which an agent installed by
hand before 1.0.2 did unless it was given
-hyperv powershell. Update its agent from the console, which reinstalls it on the real backend.